Using Retro Assembler with Visual Studio Code
Updated on January 1, 2021⚑Retro AssemblerVS Code(This post has been updated for the latest version of the assembler.)
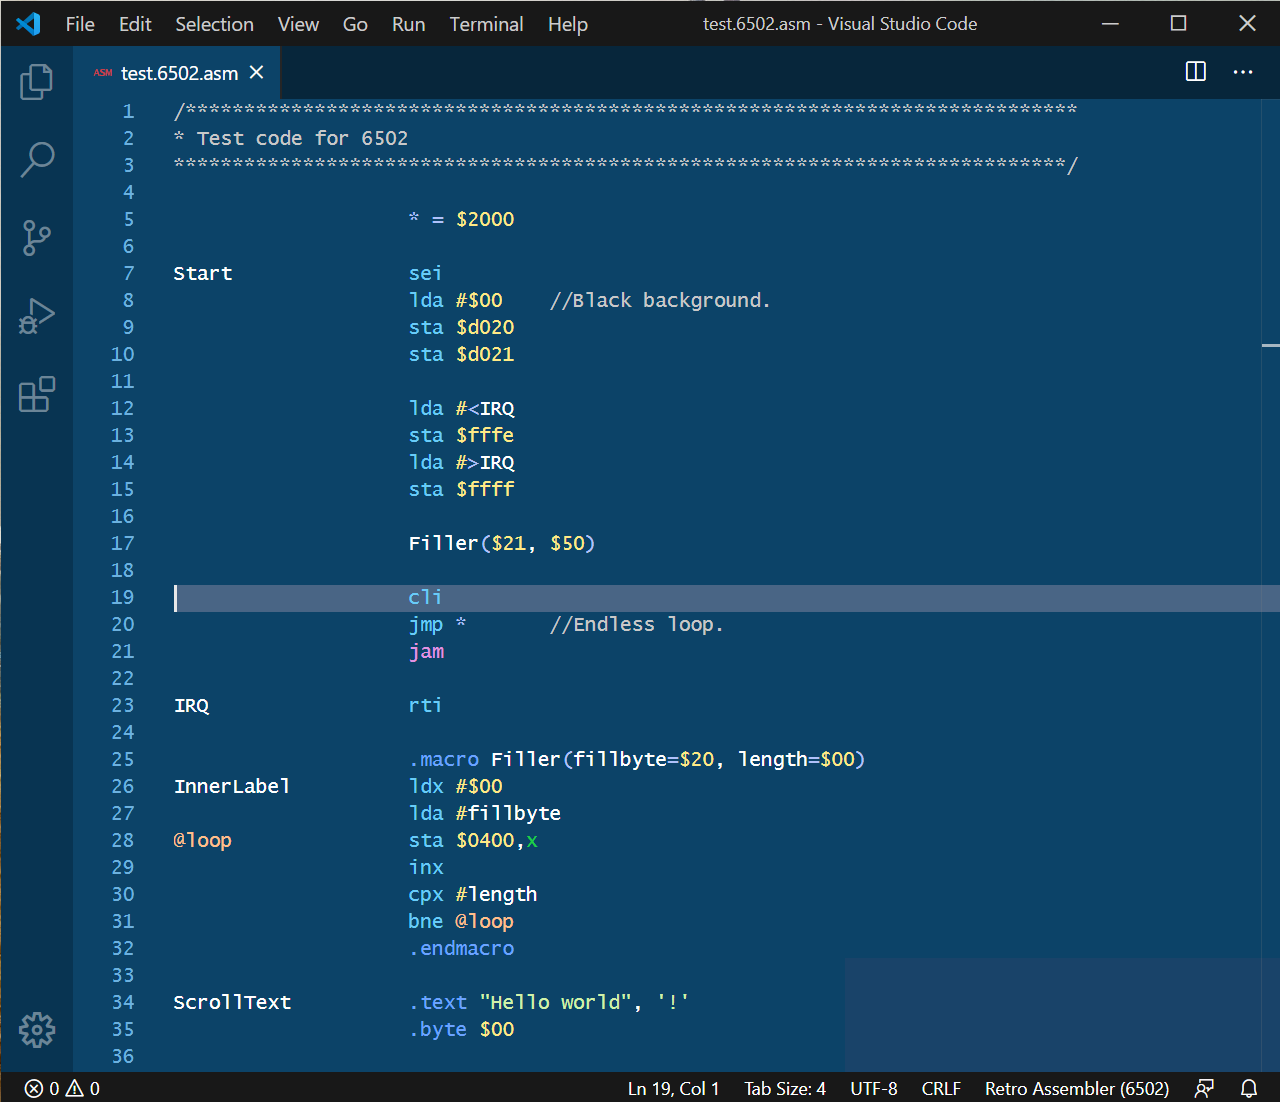
Visual Studio Code is perhaps the best programming environment to use Retro Assembler with. I have a frequently updated Extension in the VS Code Marketplace that offers multiple themes, syntax highlighting and command execution integration. Here is a screenshot of the latest Blue theme, showing a code file used for highlighting testing.
This application is available on all major operating systems and can be downloaded from https://code.visualstudio.com/
Setting it up is easy. After you installed it, click on the Extensions icon on the left side, or choose View -> Extensions. Enter Retro Assembler into the search field and install the extension from the marketplace. Choose one of the offered color themes for the assembler. You can change this later in Preferences -> Color Theme
(The Preferences menu option will be referenced below, so I better clarify that it's under File in Windows and Linux, and under the application name Code on macOS.)
For best practices select the installed Retro Assembler Extension on the Extensions page and read the Details page. (In an ideal world this is where this guide would finish.)
Settings
Go into Preferences -> Settings and search for Retro Assembler. Or you can just open its section up directly under the Extensions tree branch. You'll find 3 editable fields.
Retroassembler: Path
You have to enter the full path to the Retro Assembler executable file that you already installed somewhere. On Windows you should use the "retroassembler.exe" file. On other systems you need to enter the command "dotnet ~/retroassembler/retroassembler.dll" substituting the actual directory path from your system. If you followed my .NET installation guide, you can use that command alias ra (or similar) that you created for this.
Retroassembler: Args
Optional command line arguments that will be passed in for the assembler when you compile the selected code file. Refer to the documentation.
Retroassembler: Mainfile
If you are working on a bigger assembly project with multiple files, perhaps even in a deeper directory structure, you can enter the full path to your main code file that should always be compiled, instead of the currently edited file.
This whole Settings is saved as a JSON file and can be edited directly by clicking on { } on the right side. Here are my settings, for inspiration, in case you also need to disable visible white spaces, use tabs, and enjoy a cleaner editor interface in general.
{
    "retroassembler.path": "C:\\RetroAssembler\\retroassembler.exe",
    "retroassembler.args": "-x",
    "retroassembler.mainfile": "",
    "workbench.colorTheme": "Retro Assembler Blue",
    "window.zoomLevel": 0,
    "editor.fontFamily": "'Lucida Console', Consolas, monospace",
    "editor.fontSize": 13,
    "editor.insertSpaces": false,
    "editor.detectIndentation": false,
    "editor.renderIndentGuides": false,
    "editor.multiCursorModifier": "ctrlCmd",
    "editor.minimap.enabled": false,
    "editor.renderWhitespace": "none",
    "editor.renderControlCharacters": false,
    "breadcrumbs.enabled": false
}
Keyboard Shortcuts
Go into Preferences -> Keyboard Shortcuts and search for retroassembler. You'll find 3 editable commands. Bind your desired keyboard shortcuts to them if you want to alter the defaults.
Retro Assembler: Build
This opens the Terminal and compiles the currently edited file, or the Mainfile if set in Settings.
Default shortcut: Ctrl+Shift+B
Retro Assembler: Build & Start
This opens the Terminal and compiles the currently edited file, or the Mainfile if set in Settings. It also passes in the -L command line argument to the assembler, which can start the compiled binary file with an emulator. In the compiled source code file you need to have a line similar to this example:
.setting "LaunchCommand", "C:\\Emulator\\emulator.exe {0}"
Default shortcuts: Shift+F5 and F6
Retro Assembler: Build & Debug
This opens the Terminal and compiles the currently edited file, or the Mainfile if set in Settings. It also passes in the -g command line argument to the assembler, which can start the compiled binary file with a debugger. In the compiled source code file you need to have a line similar to this example:
.setting "DebugCommand", "C:\\Emulator\\debugger.exe {0}"
Default shortcut: F5
File Naming Conventions
Visual Studio Code is a great editor but needs a little help with the file type detection. There wouldn't be much use to see 6502 instruction highlighting in a Z80 assembly code file, so you need to tag your files with the CPU type you use in them. You can do this by adding a secondary file extension between the file name and the .asm (or .s, .inc) extension, like this:
- MyCode.6502.asm
- MyCode.65c02.asm (Use this tag for 65SC02, too)
- MyCode.65816.asm
- MyCode.4510.asm
- MyCode.45gs02.asm
- MyCode.mega65.asm (Same as 45GS02)
- MyCode.4004.asm
- MyCode.4040.asm
- MyCode.8008.asm
- MyCode.8080.asm
- MyCode.8085.asm
- MyCode.gameboy.asm
- MyCode.z80.asm
Code Snippets
Using built-in features IntelliSense and Code Completion, the extension can help entering Directives like .macro and it can display a short description and examples for each. Just type "." and hit Ctrl+Space to show the available Directives, or you can start typing what you need and hit Tab to insert the Code Snippet for the chosen Directive.
These helper entries don't list all possible parameters and full description due to the space limitation in the code editor window, but the most common cases are covered. It makes writing code a lot easier. For further information on the minute details you should still refer to the assembler's documentation.
Get to work!
Now you're ready to code for some good old CPUs. Just edit and save your files as usual, then press the keyboard shortcut you set up for Build or Build & Start to compile your selected file. You will see in the terminal window slotted somewhere inside the IDE whether your code compiled correctly or it has some error you need to fix. You can Alt+Click the VS Code link of the error report to open the referenced file and jump to the problematic line of code.